
Complete Guide to Getting Started with Bluesky: The New Home of Tech Twitter
Prerequisites
- Valid email address for signup
- Profile picture and banner image ready to upload
- Links to your projects and online presence
Complete Guide to Getting Started with Bluesky: The New Home of Tech Twitter
What is Bluesky?
Bluesky is an emerging social platform designed for tech enthusiasts, developers, and digital makers. It offers a space for genuine discussions, meaningful connections, and a unique opportunity to establish your tech presence.
1. Creating Your Account
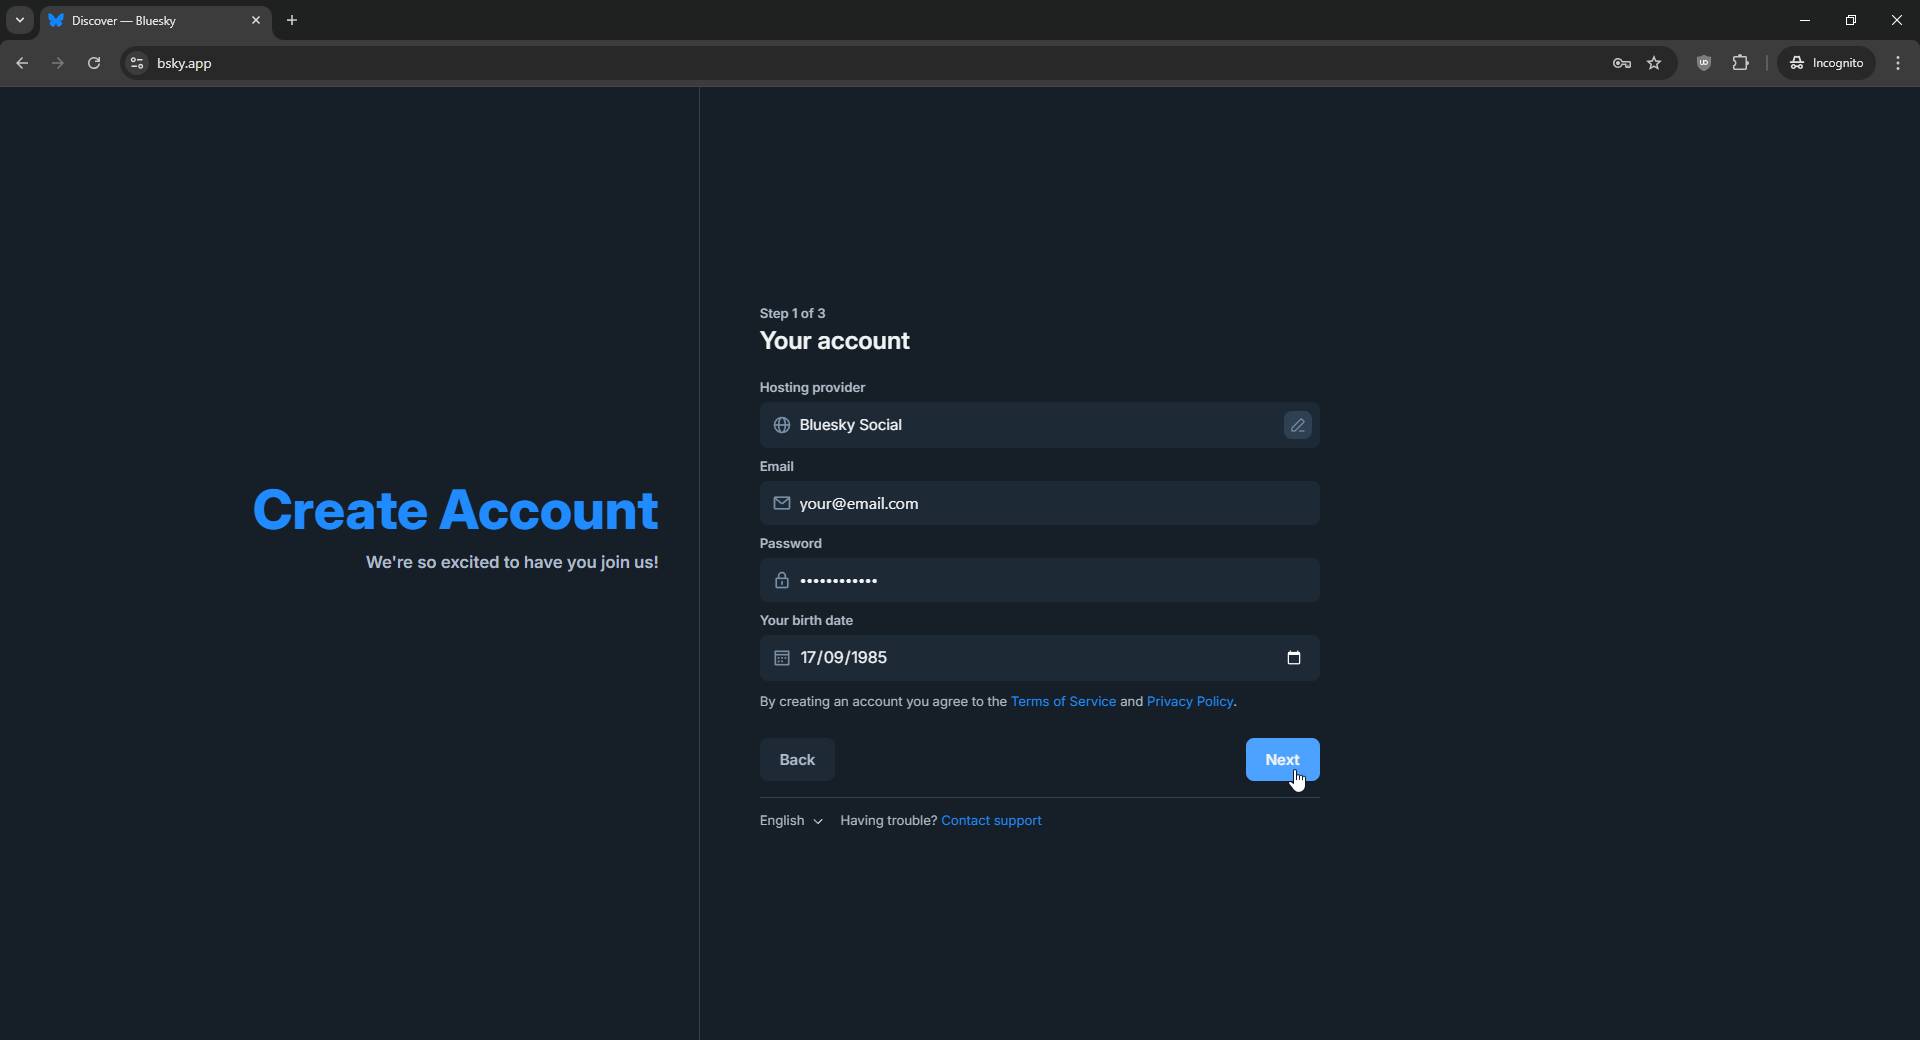
Start your journey on Bluesky by:
- Visiting bsky.app and signing up.
- Choosing a handle that reflects your brand (e.g.,
loftwah.bsky.social). - Creating a strong password.
2. Setting Up Your Profile
Your profile is your calling card. Make it stand out:
- Profile Picture: Use a clear and recognisable image (recommended size: 1000x1000 pixels).
- Banner Image: Showcase your work or personality with a banner (recommended size: 1500x500 pixels).
- Bio: Highlight who you are, what you do, and why people should follow you.
- Key Links: Include links to your GitHub, portfolio, or your Linkarooie profile.
Adding Your Pronouns
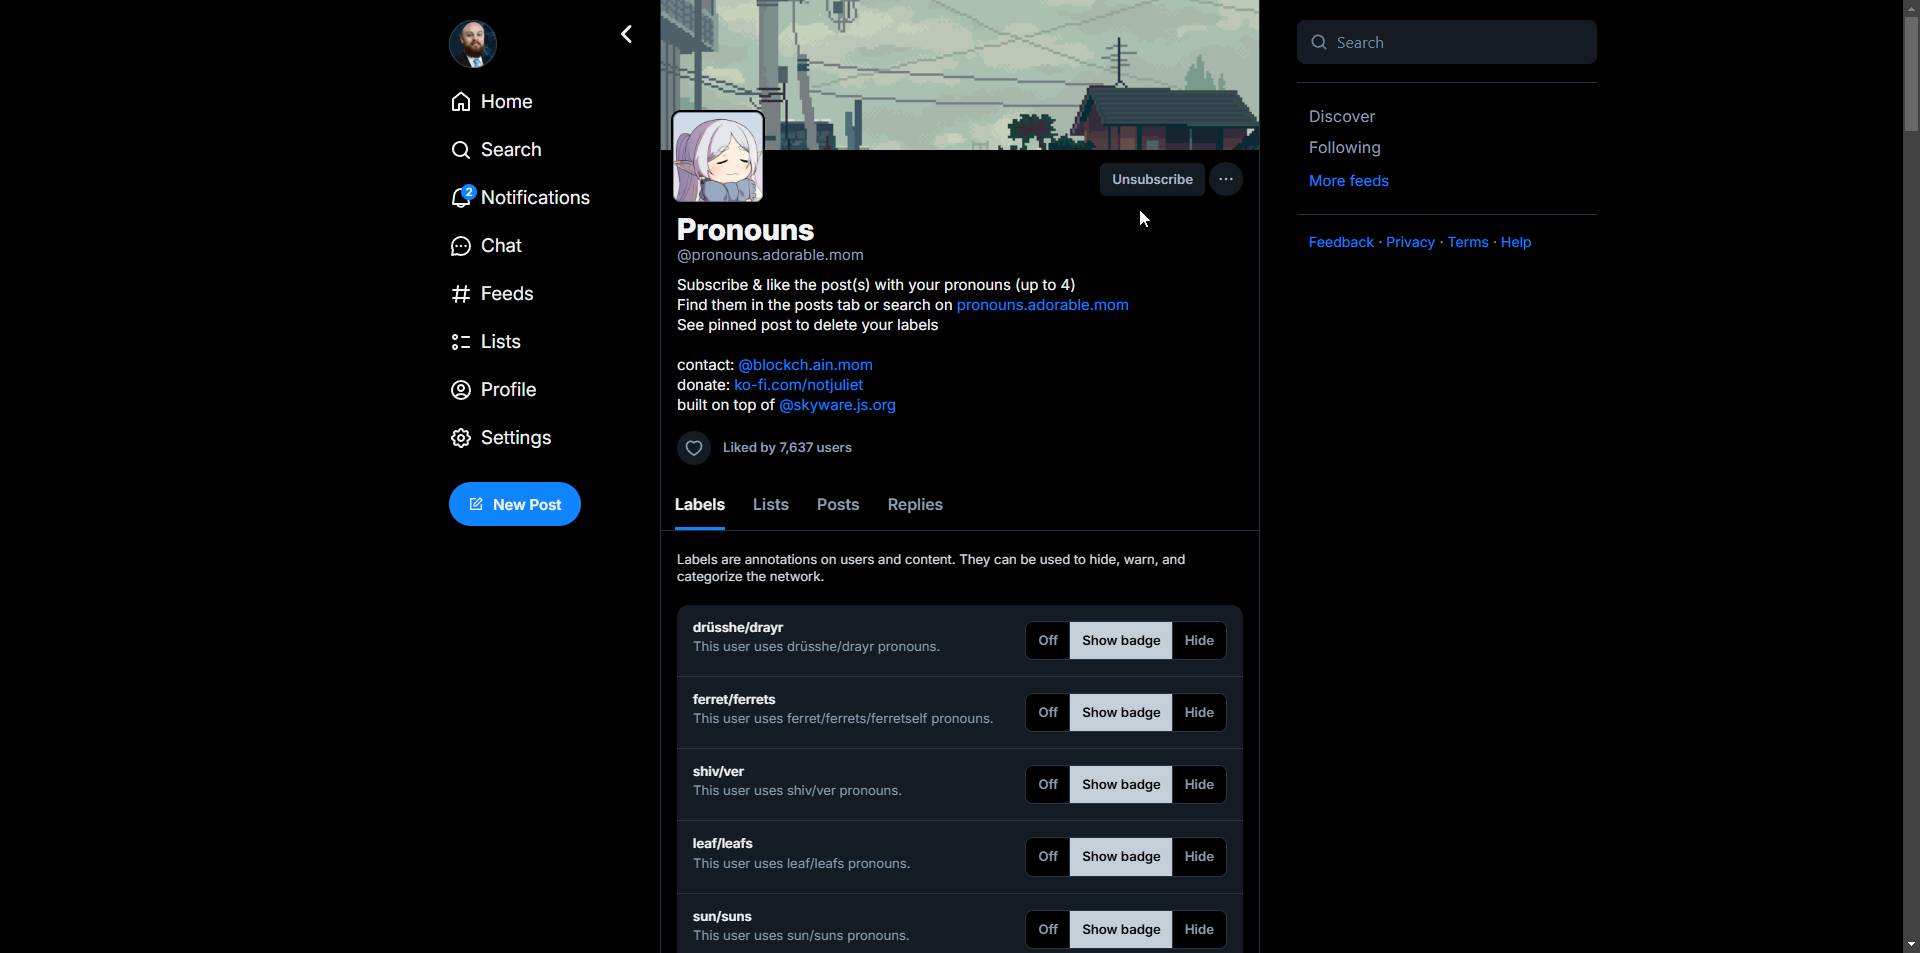
If you’re new here, it’s recommended to add your pronouns to help others address you correctly. Follow @pronouns.adorable.mom and:
- Subscribe to their account.
- Like the posts that match your pronouns. You can add up to four different pronoun labels by liking multiple posts.
- To find the pronoun posts, visit the Posts tab on @pronouns.adorable.mom or use the search function.
- If you need to remove any pronoun labels, see the pinned post on @pronouns.adorable.mom for instructions.
3. Exploring Starter Packs
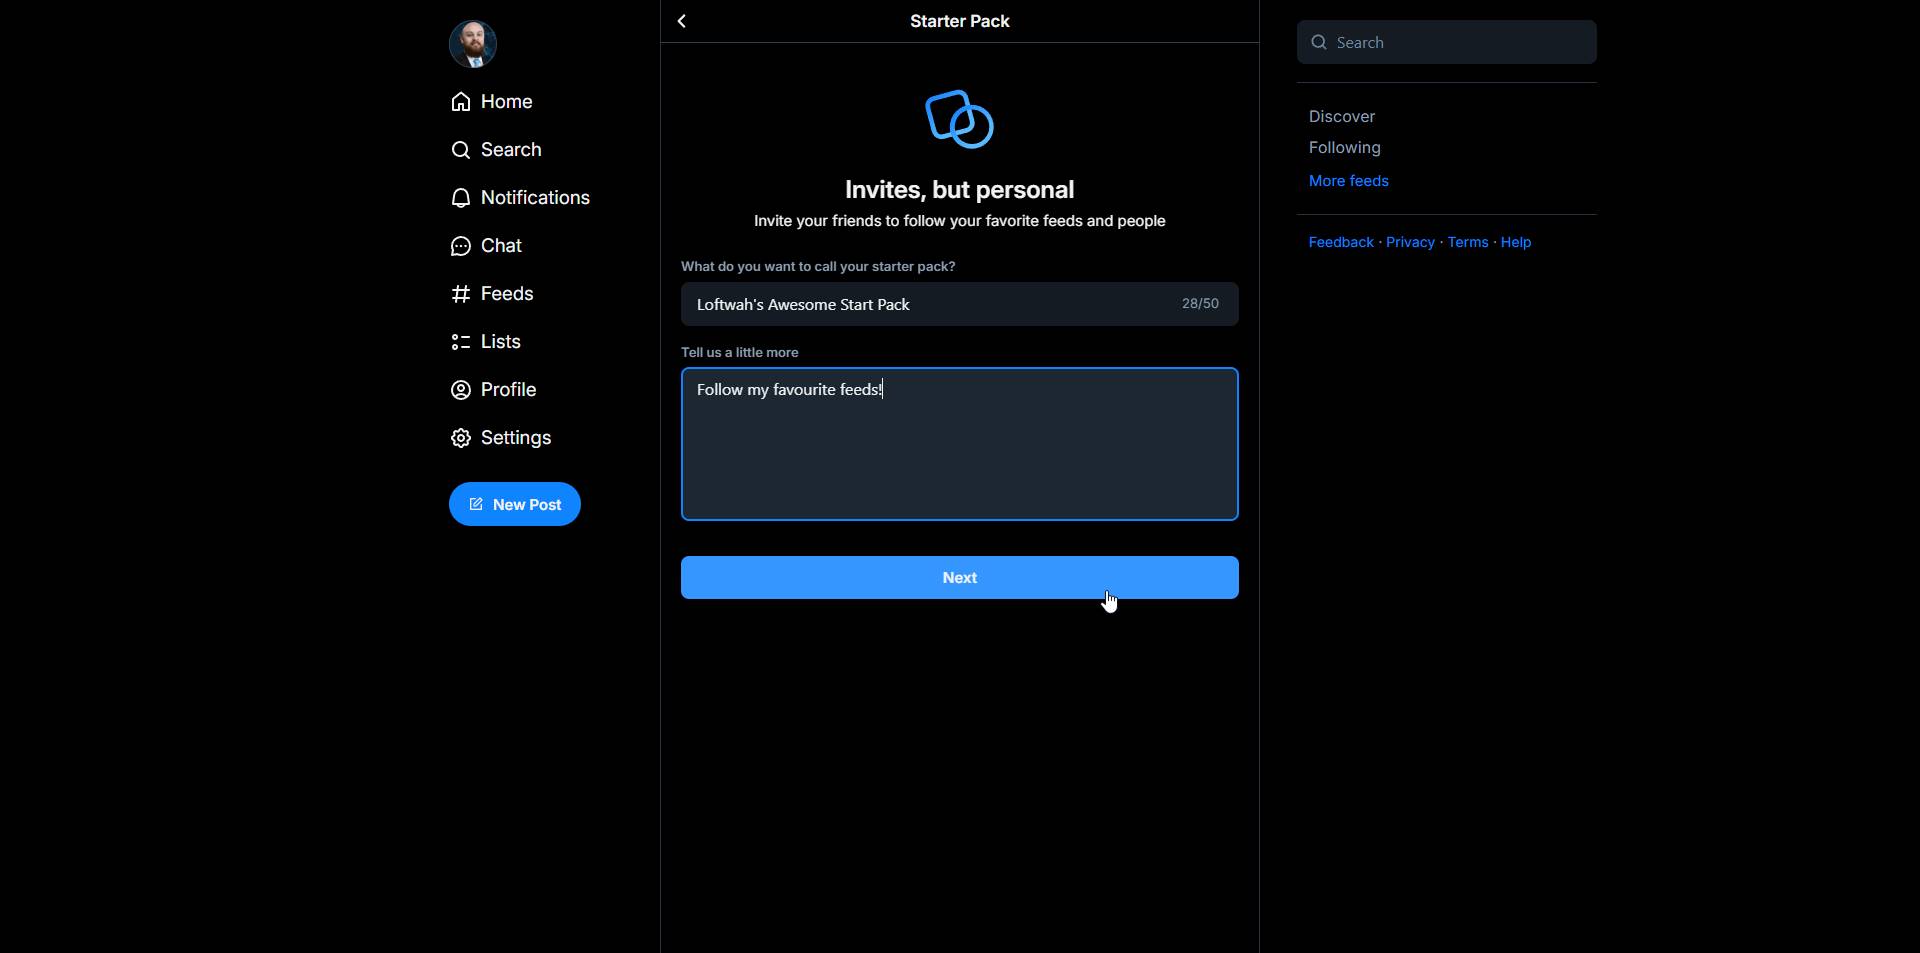
One of the most exciting features of Bluesky is the Starter Packs. They help you find the best people to follow and dive straight into relevant conversations. Here’s a curated list of standout packs for different tech interests:
Must-Follow Starter Packs for Developers & Tech Enthusiasts
- Python🐍 by @savannah.dev
- OSS TypeScript Wizards by @colinhacks.com
- Ruby and Rails Starter Pack by @joshuawood.net
- Ruby, Rails and Web by @julianpinzon.com
- Front-end Friends by @kevinpowell.co
- Syntax Guests by @syntax.fm
- Indie Hackers by @tsanlis.bsky.social
- Web Witch’s Magic Makers in Tech by @seaotta.bsky.social
- Diversify Tech’s Starter Pack by @diversifytech.com
- Concept Artists by @arvalis.bsky.social
- NLP Researchers by @mariaa.bsky.social
- Data Science by @chrisalbon.com
- Retro FPS GameDev by @uk-resistant.bsky.social
- Sentry and Friends by @sentry.io
For a complete list of packs, visit Bluesky Directory or check this Bluesky post on starter packs.
4. Custom Domain Setup
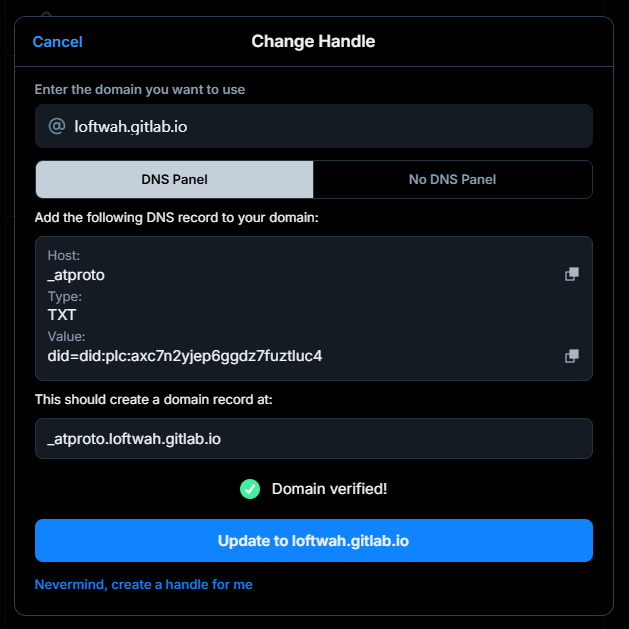
Bluesky allows you to use a custom domain as your handle, giving your profile a professional edge. You can either set up a domain you own (like loftwah.com) or use GitHub Pages (like loftwah.github.io) if you don’t have a personal domain.
Option 1: Using a Custom Domain (e.g., loftwah.com)
If you have a custom domain, you can link it to your Bluesky handle in just a few steps.
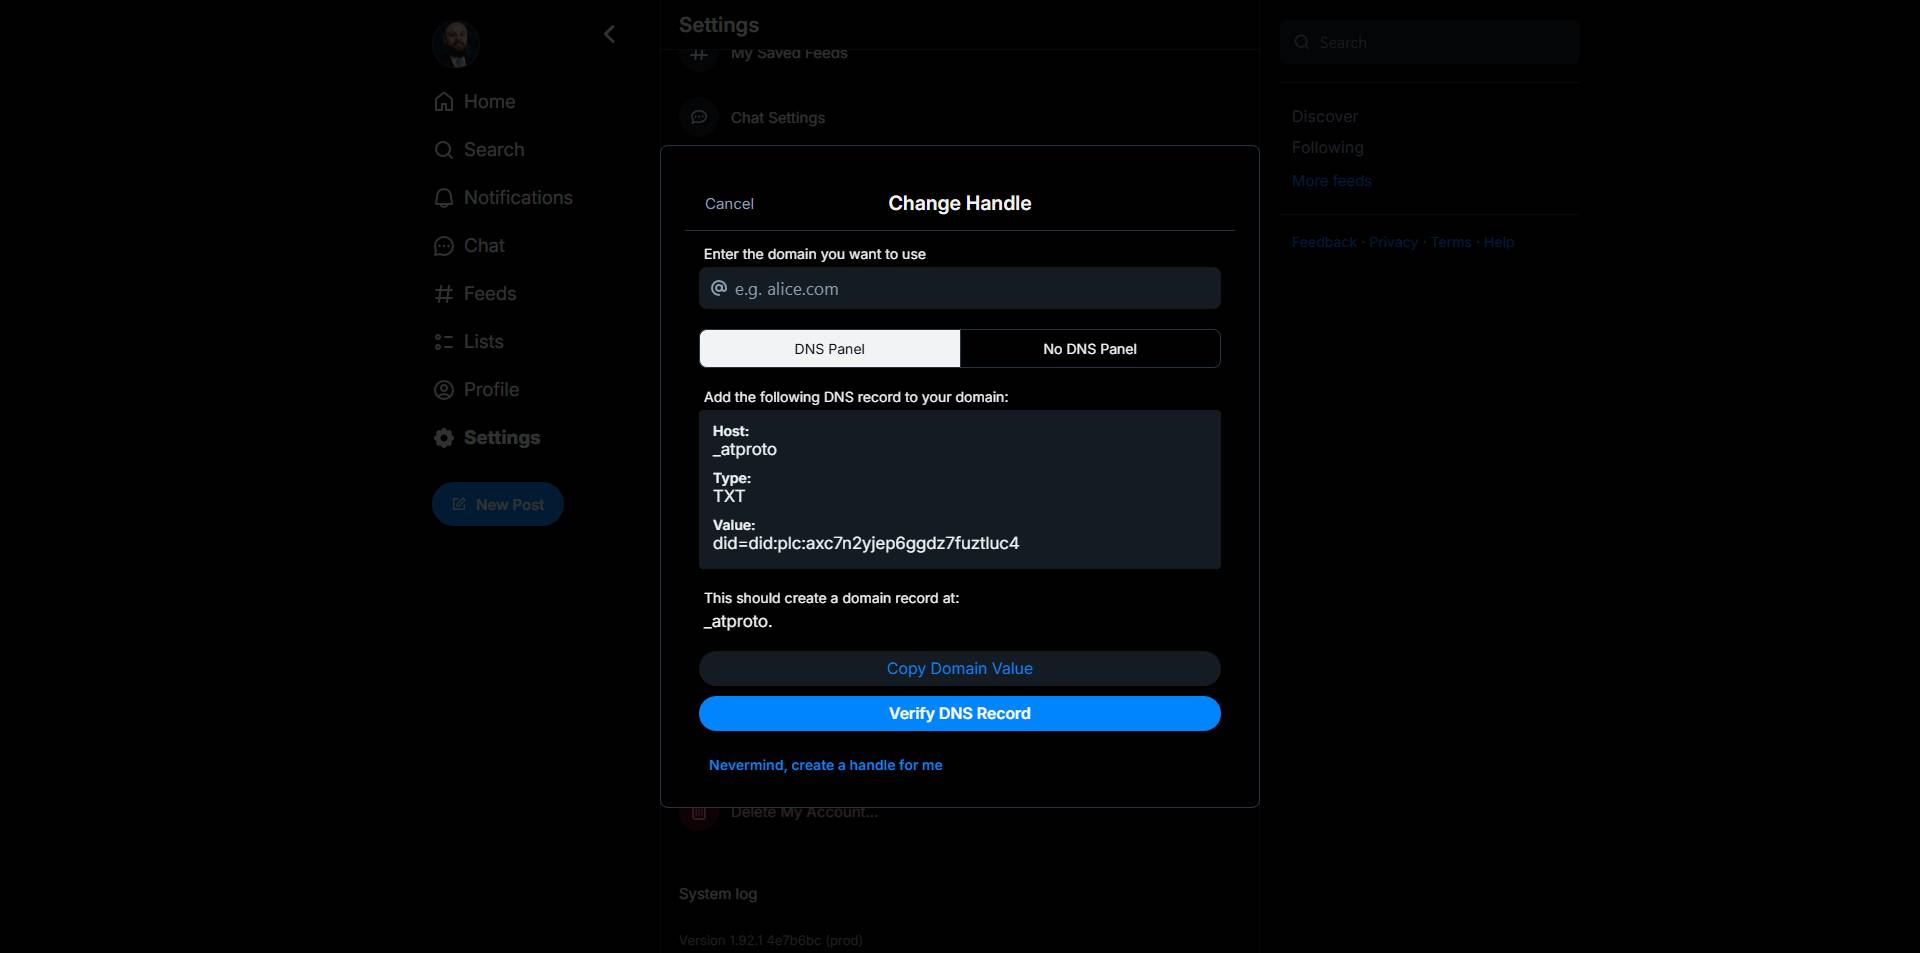
- Locate Your DID: In Bluesky, go to Settings → Change Handle → Custom Domain. Your DID (Decentralized Identifier) will be displayed here (e.g.,
did:plc:axc7n2yjep6ggdz7fuztluc4). - Configure Your DNS: Go to your domain’s DNS settings and add a TXT record with the following details:
- Host/Name:
_atproto - Type:
TXT - Value:
did=did:plc:YOUR_DID_HERE(replaceYOUR_DID_HEREwith the DID displayed in Bluesky)
- Host/Name:
- Verify: Return to Settings → Change Handle → Custom Domain in Bluesky and click Verify.
This will set your Bluesky handle to your custom domain.
Option 2: Using GitHub Pages as Your Handle (e.g., loftwah.github.io)
If you don’t have a custom domain, you can use GitHub Pages to create a professional handle. Here’s how:
-
Enable GitHub Pages:
- Go to your GitHub repository for the site you want to use as your handle (e.g.,
loftwah.github.io). - In Settings → Pages, select a branch to publish from, typically
mainormaster, and save.
- Go to your GitHub repository for the site you want to use as your handle (e.g.,
-
Create the
.well-knownFolder:- In your repository, create a folder named
.well-known. - Inside this folder, add a file named
atproto-did. In this file, enter your DID as shown in Bluesky (e.g.,did:plc:axc7n2yjep6ggdz7fuztluc4).
- In your repository, create a folder named
-
Add
_config.ymlto Include.well-known:- In the root of your repository, create a file named
_config.yml. - Add the following to include
.well-knownin the GitHub Pages build:include: [".well-known"]
- In the root of your repository, create a file named
-
Publish and Verify:
- Once your GitHub Pages site is live at
https://loftwah.github.io, go to Settings → Change Handle → Custom Domain in Bluesky, and enterloftwah.github.ioas your custom domain. - Click Verify to complete the setup.
- Once your GitHub Pages site is live at
For a working example, you can reference this helpful GitHub repo example.
Option 3: Using GitLab Pages as Your Handle (e.g., loftwah.gitlab.io)
If you don’t have a custom domain, you can use GitLab Pages to create a professional handle. Here’s how:
-
Enable GitLab Pages:
- Use your GitLab repository: https://gitlab.com/loftwah/loftwah.gitlab.io.
- Ensure the repository’s visibility is set to
Public:- Go to Settings → General → Visibility, project features, permissions.
- Set the project to
Public.
- Go to Settings → Pages and ensure Access Control is set to
Public.
-
Create the
.well-knownFolder:- In your repository, create a folder named
.well-known. - Inside this folder, add a file named
atproto-did. In this file, enter your DID as shown in Bluesky (e.g.,did:plc:axc7n2yjep6ggdz7fuztluc4).
- In your repository, create a folder named
-
Add a
.gitlab-ci.ymlFile:-
In your repository, add a file named
.gitlab-ci.ymlwith the following content:pages: stage: deploy script: - mkdir -p public - cp -r index.html .well-known public/ artifacts: paths: - public rules: - if: $CI_COMMIT_BRANCH == "main" -
This configuration ensures your
index.htmland.well-knownfolder are deployed.
-
-
Publish and Verify:
- Once the pipeline succeeds, your GitLab Pages site will be live at https://loftwah.gitlab.io.
- Visit https://loftwah.gitlab.io/.well-known/atproto-did to ensure your DID is accessible.
-
Set Your Handle in Bluesky:
- Go to Settings → Change Handle → Custom Domain in Bluesky.
- Enter
loftwah.gitlab.ioas your custom domain. - Click Verify to complete the setup.
For reference, your GitLab repository should look like this: https://gitlab.com/loftwah/loftwah.gitlab.io
Example structure:
loftwah.gitlab.io/
├── .gitlab-ci.yml
├── index.html
└── .well-known/
    └── atproto-did
This method leverages GitLab Pages, using your repository as the foundation for a professional and functional Bluesky handle.
5. Managing Moderation and Content Preferences
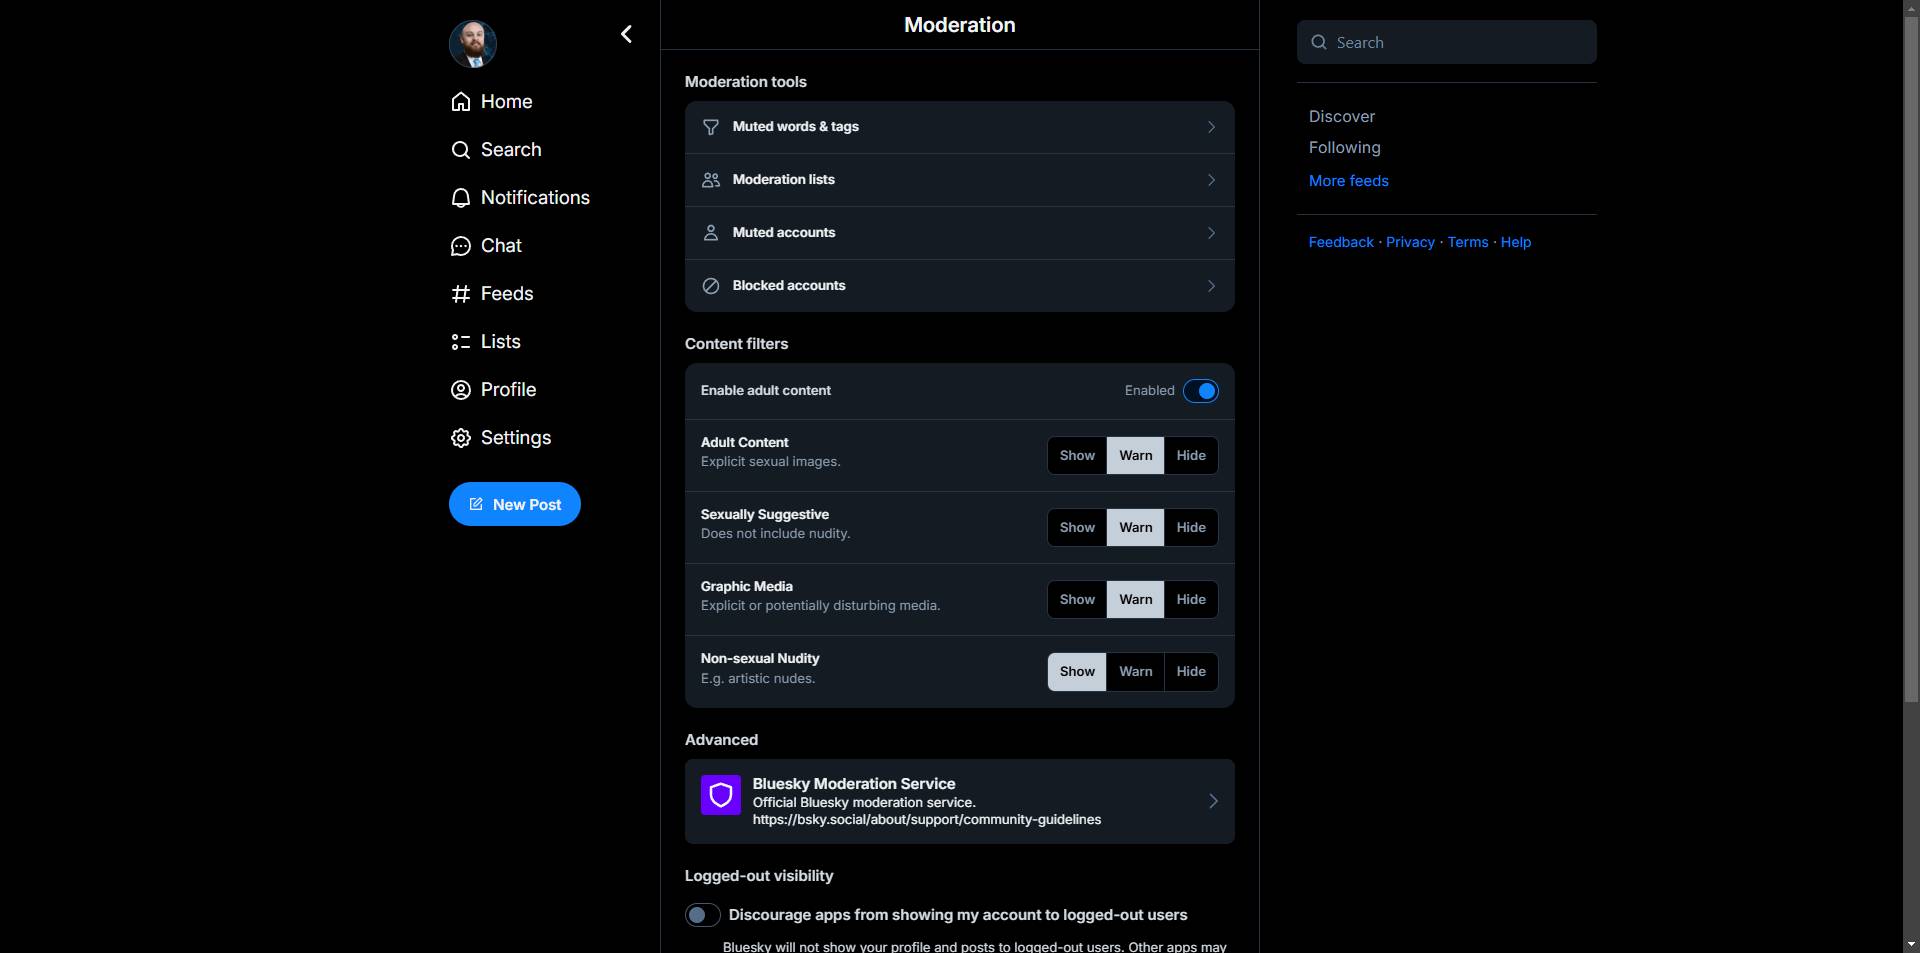
Bluesky provides robust moderation tools to tailor your experience:
- Content Filters: Adjust your preferences in Settings → Content Filters.
- Reporting: Manage issues with built-in reporting tools.
6. Setting Up the GitHub Labeler Bot
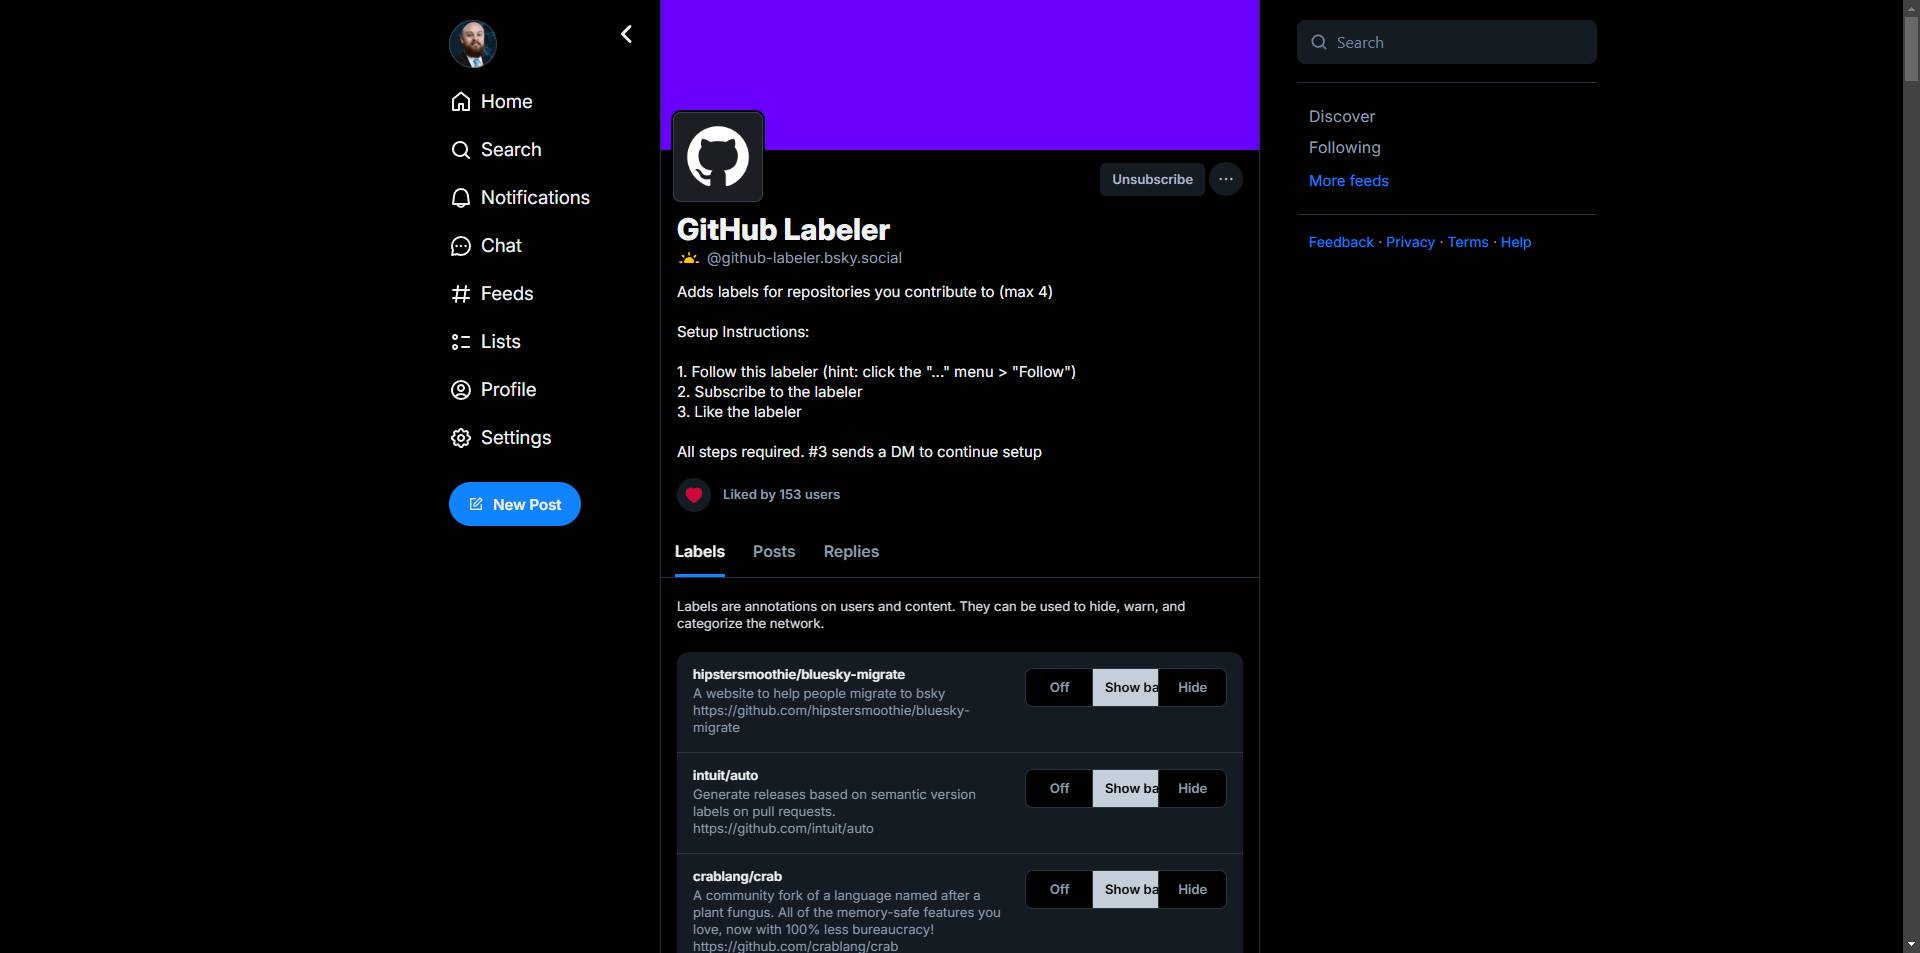
The GitHub Labeler bot (@github-labeler.bsky.social) helps you automatically add labels to repositories you contribute to. Here’s how to set it up correctly, step-by-step.
Setup Instructions
-
Follow the Labeler Bot:
- Go to the labeler’s profile: github-labeler.bsky.social.
- Click on the ”…” menu and select Follow to initiate the setup.
-
Subscribe to the Labeler Bot:
- Go back to the labeler’s profile and select Subscribe. This confirms your agreement to allow the bot to interact with your repositories.
-
Like the Labeler’s Profile:
- Like the labeler’s profile by tapping the heart icon. This step sends a direct message to the bot to confirm setup, allowing it to proceed with verification.
Important: Make sure to follow these steps in the exact order above. If the order is incorrect, you may need to start over by unfollowing and then refollowing the bot to reset the process.
Verifying Your GitHub Account
Once the initial steps are complete, the bot will prompt you to verify your GitHub account. Here’s what to do:
-
Update Your GitHub Profile:
- Add your Bluesky handle to your GitHub profile bio. This step is necessary for the bot to verify your GitHub account.
-
Send Your GitHub Username:
-
In the chat with the bot, type your GitHub username in the format:
github: loftwah
-
-
Confirmation:
- The bot should respond with a success message once your account is verified.
Linking a GitHub Repository
After verifying your GitHub account, you can link a repository to add labels. Here’s how:
-
Send the Repository Name:
-
In the chat with the bot, type the repository name in the format:
repo: loftwah/linkarooie
-
-
Wait for Confirmation:
- The bot will verify your ownership or contributor status for the specified repository and confirm that it qualifies for label management.
-
Label Assignment:
- It may take a few minutes for the label to appear on the specified repository. The bot will automatically handle label updates going forward.
Troubleshooting Tips
- Incorrect Setup Order: If you make a mistake during setup, you can unfollow the bot, then follow the steps again from the beginning.
- Profile Verification Error: Make sure your GitHub profile includes your Bluesky handle; otherwise, the bot can’t verify your account.
- Repo Access Issues: Only public repositories you own or contribute to can be managed by the labeler.
This setup gives your repositories a professional edge with automated label management on GitHub. Now you’re ready to stay organized with labels for your contributions!
Best Practices
- Engage Authentically: Make meaningful connections by sharing projects and insights.
- Stay Consistent: Regularly update your profile and posts to stay connected with your community.
- Create Lists: Share lists you’ve curated to help others find valuable accounts.
Troubleshooting Common Issues
- Domain Verification: Ensure your
_atprotorecord is set correctly. - Handle Availability: Add context like your profession if your preferred handle is taken.
Additional Resources
Last updated: 25th of November, 2024